

✦
Where Artistry Begins
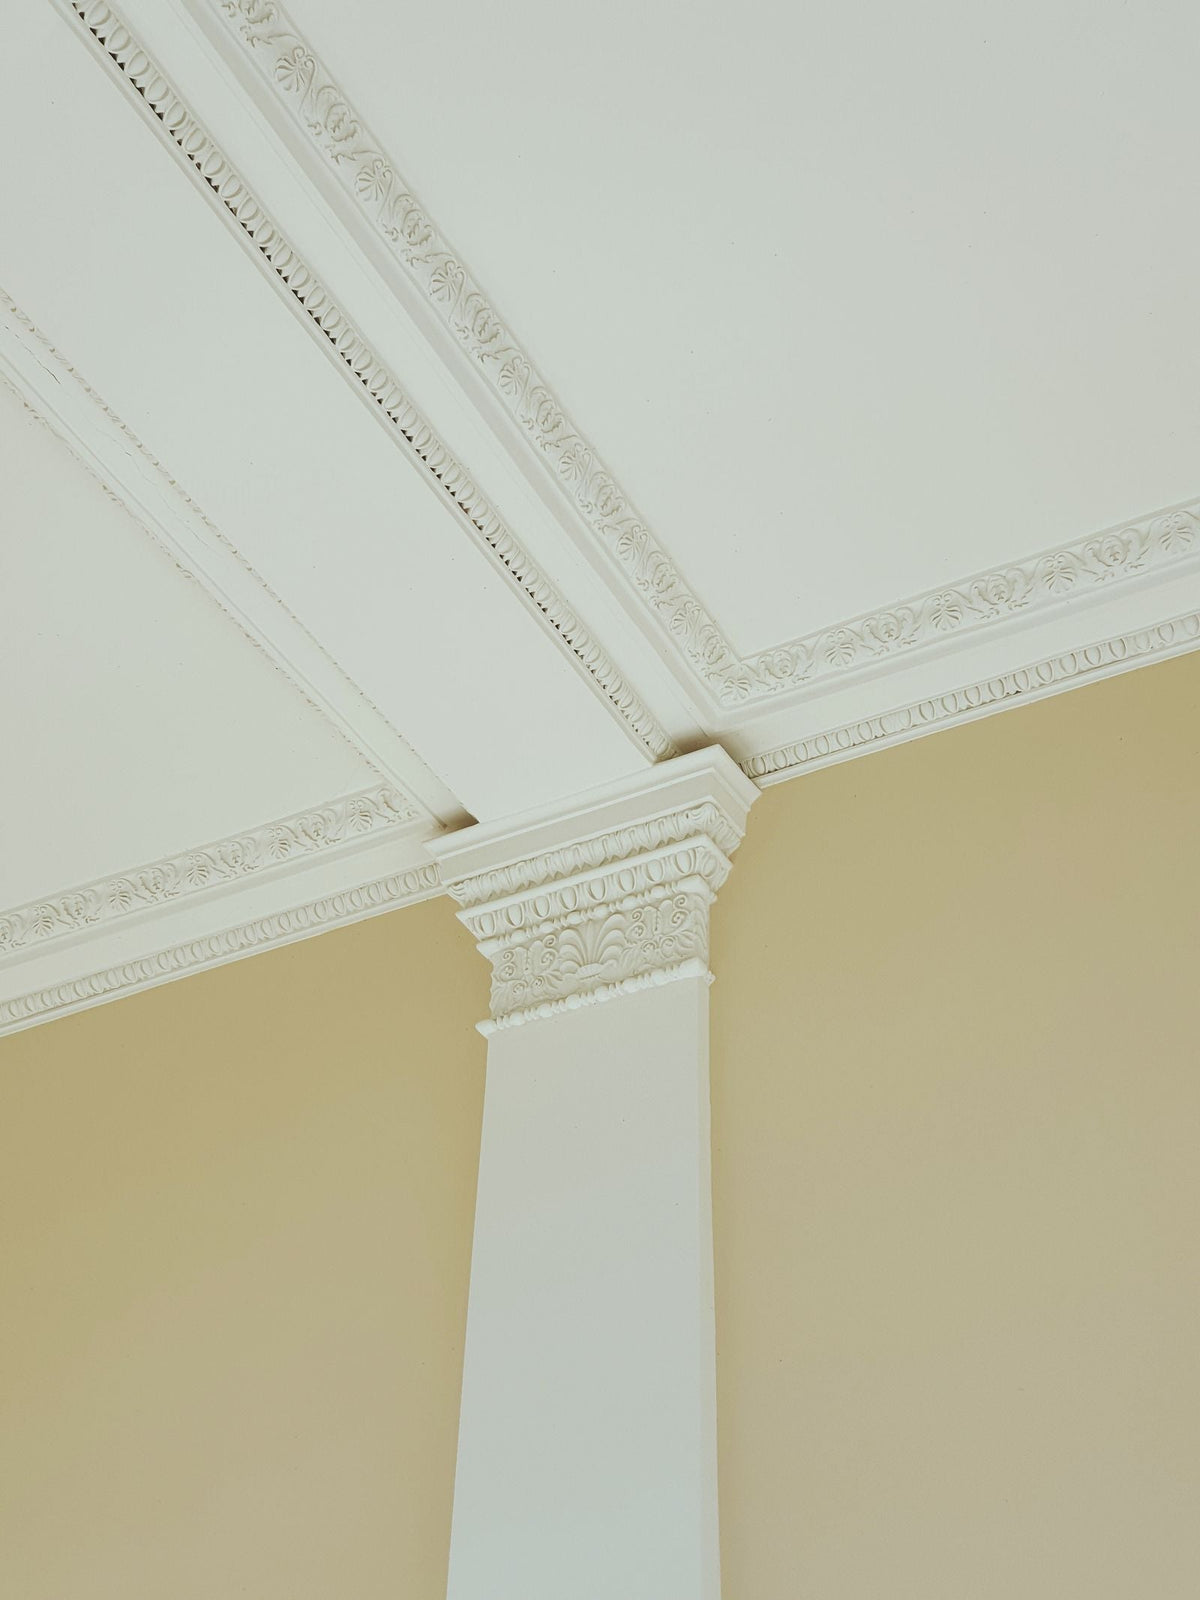
To fit plaster coving, you mark guide lines on the wall and ceiling, cut each length to size in a mitre box, key and dampen the surfaces, spread coving adhesive along the back edges, press each length onto the lines, hold it with a couple of temporary nails while the adhesive sets, then fill the joints and prime and paint. That is the method manufacturers such as British Gypsum set out for their plaster cove, and it suits most lightweight plaster coving in an ordinary room.
Heavier fibrous plaster cornice is a different job, and we explain where that line sits further down. If you would rather not do it yourself, Zavoré supplies plaster coving on its own or fits it for you. See our plaster cornice and coving page for both.

British Gypsum's instructions for its plaster cove ask for wall and ceiling backgrounds that are sound, clean and dry, with any wallpaper removed where the coving will sit. Scratch painted or plastered areas that the coving will touch to give the adhesive a key, then brush away dust and loose material. If the background is very dry, dampen it with a clean sponge just before you apply adhesive, so it does not draw the water out too fast.
Draw a pencil line along the wall and another along the ceiling to show where the edges of the coving will land. The maker gives these distances for each profile. For its 127mm cove, for example, British Gypsum gives 83mm down the wall and 83mm across the ceiling. If you have no figure, hold an offcut in the corner and mark both edges at intervals, then join the marks with a straight edge.
Measure every wall at ceiling height rather than at floor level, because old rooms are rarely square. Plan the run so joints fall away from the eye line from the door, and avoid finishing a wall with a short piece. Write the measurements down and mark which end of each length is an internal corner, an external corner or a straight joint.
Cut each length with a fine toothed saw in a coving mitre box or block. Most boxes are marked for internal and external corners, left and right, and show which edge of the coving sits against the base. Follow those markings exactly.
Cut a pair of test pieces from offcuts first and offer them up to the corner. If the walls are out of square, a small gap can be filled later, but a large one means adjusting the cut. Some makers also sell ready cut corner pieces, which take much of the risk out of the job.
Mix the adhesive as the maker directs and in small batches, because it sets. British Gypsum asks for a bed about 3mm thick on both surfaces of the cove that touch the wall and the ceiling. Butter the cut ends too, so each length bonds to the next. Press the length firmly onto your guide lines so it is in contact along its whole length, and wipe away excess adhesive with a damp sponge before it sets.
Tap two small nails into the wall just below the bottom edge of each length to hold it while the adhesive sets, and take them out once it has. On uneven backgrounds, British Gypsum recommends non rusting screws into plugs as a mechanical fixing. Long lengths are far easier to handle with a second pair of hands.
Use the excess adhesive to fill the mitres and joints as you go, and strike them off neatly. Once everything is dry, fill any remaining gaps, let the filler dry, then sand the joints and corners smooth with fine abrasive paper and dust off.

Before painting, follow the coving maker's advice on priming. British Gypsum, for example, specifies a primer on its cove before the decorative coat. Most decorators then paint the ceiling and coving together, cut in a clean line along the bottom edge, and paint the walls last.

Plain, light plaster coving in a modern room is a fair DIY job. Some jobs are better left to coving fitters or a plasterer.
Short, light lengths, yes, with care. Long lengths are awkward to hold and bed evenly alone, so a second person makes the job much easier and safer.
It covers the joint, but it is worth finding out why the crack is there first. If the building is still moving, the coving joints may crack in turn.
Wait until the adhesive and filler are fully dry, and follow the drying times printed on the products you used. Painting too soon can leave marks over the joints.
Both. Zavoré supplies plaster coving, cornice and plaster ceiling roses on their own for your own fitter, or supplies and fits them.
Where to go next. See the profiles we supply and fit on our plaster cornice and coving page, or send your room sizes and a few photos through our contact page for a supply only or fitted quote.
An honest look at off the shelf fluted wall panels against seamless sculptural plaster, the difference between fluted and reeded, and whe...
Feature WallsFeature wall ideas room by room, using Venetian plaster, limewash, murals, sculptural plaster, mosaic and more, with advice on choosing t...
Feature WallsWhat chinoiserie is, how Chinese painted wallpaper arrived in British country houses, and how printed rolls, hand painted panels and a mu...
Buying GuideHow to judge a plaster colour properly: boards in the specified finish, upright in the room, in daylight and lamplight, and never while s...
CareA pastellone floor is a seamless lime floor laid wet and polished as it sets. What goes underneath it, how the binder works, and wax agai...
CareWhich decorative plaster finishes stand up to hallway traffic, how to protect corners and seal the surface, and what changes when the wal...

Authentic Venetian plaster, machine-tinted to your colour and made for each order. Materials, installation and master-led training, nationwide and international, since 2021.
One list, run by the people who make the material. No noise, and nothing we would not want to read ourselves.
We email as the house has something worth saying, never daily. Unsubscribe from any email, or reply STOP to any text. We never pass your details to anyone.